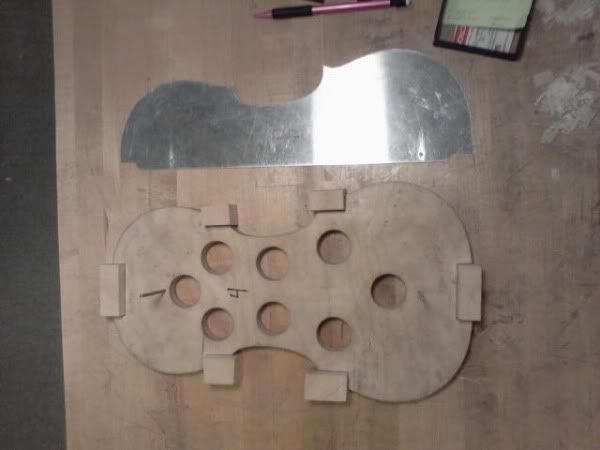
So to kick this build off we started with a set of a template of half of the violin and a form. I chose to build the Strad violin over the Amadi or Emil and not for any reason other than I recognized the strad name.
So once I had the form and template, I was given a spruce block roughly 3x3x4 or so. I then had to split it with a knife and hammer to see how straight the grain split because that helped to know where and how that block could be used, with out the grain causing any kind of problems during construction by hooking your chisel the wrong way, and digging in and ruining your neck angle while hand cutting the dovetail for the neck.
So once the blocks were roughed in in size by splitting, we then had measurements to make each block to, and they all had to be "perfectly" squared up with a 70 dollar piece of perfection known as the 50mm starret square. So all the blocks had to be squared and then sized to these heights:
For the neck block it had to be with in .1mm or better of 31mm starting height and 30mm ending, the 1 mm leaving room to sand it once the rim is built.
For the upper c bout blocks they needed to be taken down to 32.25 start and 31.25 finish, again 1 mm leeway for sanding.
For the lower C bout blocks they needed to be 32.75mm start and 31.75 finish.
For the tail block it needed to be 33mm start 32mm finish.
Keep in mind everyone of these 6 blocks take a decent amount of time. You're starting face has to be perfectly square to an edge, and both of those faces have to be perfectly square to both top and bottom. Since these blocks are going to be glued to the form, you need a nice square surface for gluing, along with a very flat bottom surface that will not teeter or wobble on a flat plate. The taper from the tail to the neck block needs to be accurate enough that if you put the template over the blocks, you can not rock it at all, and it lays flat over every single block. So there isn't much room for error in those measurements.
Before gluing the blocks you need to center the form in the middle of the ribs. So you take the highest rib height (In this example it's 33mm)and you subtract the thickness of your form (which I do not know the thickness of) and then divide that measurement by 2, and that would be the measurement of how high you need to shim the form while gluing the blocks so that the amount of blocks sticking up proud of the form is even on both sides. It's also so that you can get your kerfing lining glued onto he sides while the form is still glued in.
So with that description of the process in a nutshell, here's a picture of the violin after the blocks have solely been squared and glued in place.

So the next step from that point is to place the template on and start chiseling all of the blocks to the line of the template, basically scoring a line right up to the template for reference. All of the blocks need this done,EXCEPT FOR the upper and lower bout curves which will be attended on after the C bout ribs are glued in.
On the convex curves you need to use an incannel gouge, and for the neck and tail block, regular chisels are required. Once the blocks are close, I've got a bird tongue file which my instructor implied was a godsend, and I can't say that I disagree. Using the bird tongue file, you basically get the block perfectly flat, until you meet the score line you put in from the template. While doing this, the blocks have to frequently be checked for flat with a straight edge.
Here's a picture of the blocks finished. Notice I did not touch the outside corners to the c bouts. Again that will be done after the C bouts are glued in.

So when the blocks are done, and you haven't touched the upper and lower bout points, you need to get the ribs ready. To do the ribs you need to square them up like everything else. Need to flatted the bottom completely, and square the ends up to them.
Here's a picture of the light showing through the bottom of a rib on the flat plate, obviously not square, or ready to be used. Because of the little tolerance in the height of the rest of the blocks, the sides have to be perfect. If they are not flat, and there is a spot that is under flush to one of the blocks, it will affect your rib height to cut down to that rib. Therefore flat is good.

Once the bottom is flat, for the c bout for this violin I measured 14cm, which left about 1.5cm over on each corner. The ends needed to be squared, because if they weren't it would affect the clamping pressure, which I'll mention again in a bit, that's a bit ahead. For the upper and lower bouts, since my ribs were long enough for 1 piece to do both sides, it eliminated the need to do a butt joint down at each center line. So squaring the ends are not crucial, and neither is cutting the length to a specific one. Although, knowing the lenghts of the ribs is required to know how much leeway you have. So... here's the measurements:
Upper bout: 18.5cm
C bout: 14cm
Lower bout: 22cm
Granted those are the measurements for this build, I'm sure they are going to be similar to that on most.
So at this point, we've got flatted bottoms, and squared ends cut to length if they need to be, so the next step is cutting the height. The way this is done is to basically trace the TALLEST block of that SECTION, onto the rib. Meaning, for the upper bout, if you check back to the measurements I listed, the upper bout blocks are taller than the neck block, so you'd trace the height off of those, or your going to cut them short. Same goes for the lower bout. You'd measure the height of the tail block since that is the highest block of that section.
Here's a picture of what I mean:


Here's the C bout ribs flattened, cut to length, squared on the ends, and cut to height, basically ready to bend.

Here's the over view of where everything is at, although in this pictures the upper and lower bout ribs aren't flatted or cut to height, but let's pretend they are. So in this picture, the blocks are ready, and the ribs are ready to bend (pretend, remember?)

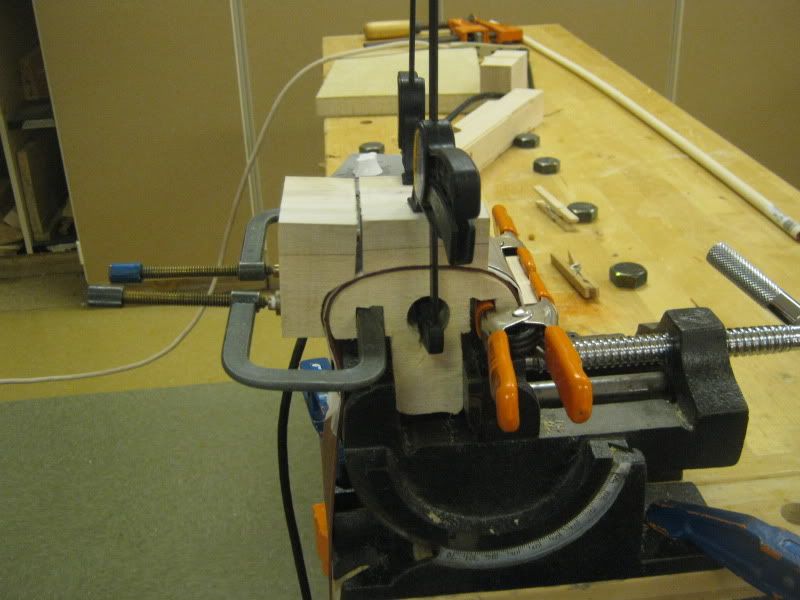
So with that said, here's the C bout bending jig in action.

And here are the C bouts bend and set in place


And since I forgot to take a picture of the upper and lower bout jigs, which I intend to post someone else bending theirs in action, I'll cut to the chase with both upper and lower bouts bent, and the cbouts clamped into place.
The upper and lower bouts will have to be touched up by hand on a bending iron to get a nice fit, and notice they are taped with masking tape to keep them from springing back out of shape.
And I mentioned it earlier, the reason why the C bout ribs have to be so square at the end is because of how the pyramid clamp works. With tapered ends, the pressure would not allow your cbout to push in tight to the blocks.

That was last nights progress. More will be up as soon as it gets done.
No comments:
Post a Comment