To start out, which I don't have pictures for, you need to join the violin plates in a process that might not be too easily understood by pure text, so I'm going to leave the joining part to you're own means of joining wood.
Once the plates are joined, the bottom of the plates need to be flattened so that the ribs lay perfectly flat against the plate with out needing to be clamped, no gaps under just the weight of the rib structure its self. So once the plates are flattened, you need to scribe the outline of the ribs onto the plates. Be sure you designate a back and top for the ribs, if you scribe on side to the top, and accidentally flip the rib structure, the outline will most likely be off because of any imperfections of symmetry.
So once it's scribed, you'll need to have a washer that measures the size of the overhang of the margins you'd like. For the violin the washer used was about 3mm from the center of the washer to the outside. For the final size of the margins, I was shooting for 2.7mm.
So you take the washer and set it up against the rib structure, and use a pencil in the center of the waster to draw a pencil line 3mm oversized from the outline.
To get the corners, you'll have to draw them in by hand. The corners for the strad model is determined by taking a straight edge from the center line at the head or tail block, and by laying it over the corner on the opposite side of the violin. For example, from the head block centerline, you would lay the straight edge over the lower bout corners and that would determine the angle for how the corners point. You'll want to draw the line for the same overhand for the margins you'd like on you're corners. If you use the washer around the hole thing, you'll have very rounded corners and just don't look proper at all.
Once your scribe line, margin line, and corners are drawn in, you're ready to cut out the shape of the plates. Here's the picture of the plates after cut out (Cello)
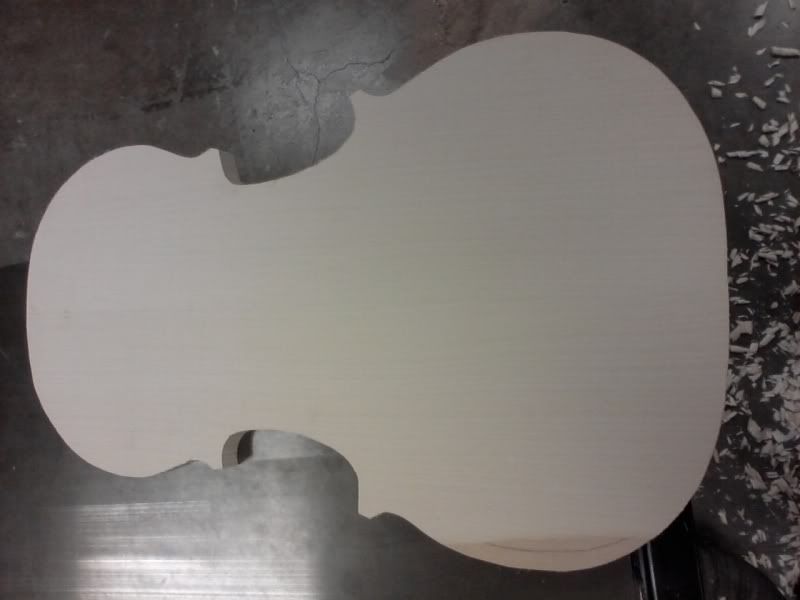
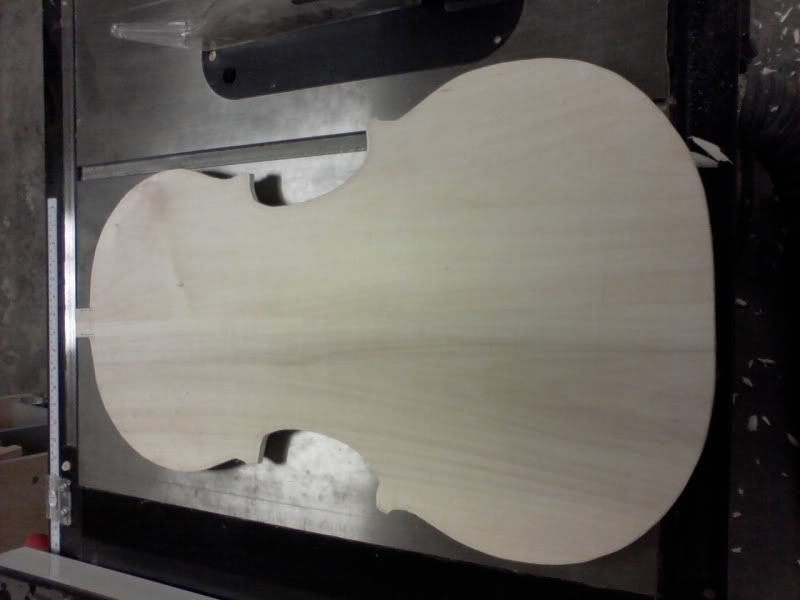
So now the plates are cut out and you need to establish the arch height into the plates. For my cello, the plates shown, I shot for a 27mm top and a 25mm back. So thickness each plate to the arch height that you're going for.
Now the arch height is established into each plate, and it's time to rough arch. The first step is to draw a guide line in the center of each plate of where to NOT touch. You'll want to leave a flat spot so that you can still have a surface for the plates to lay flat so that you can sand the edges a bit closer to the pencil lines for the margins right before spot gluing the plates. So notice in the next pictures shown, the pencil marks marking out the center.
After that, the other thing you'll need to do before arching is mark the thickness you're shooting for at the edges of the plates, which will be the guide line of how low to arch. So for the cello, the upper and lower bouts were marked with a divider or compass, measured from the bottom for 6mm, and the corners, cbouts, and button were measured at 7mm. So once that lines drawn all the way around you have lines all the around of how low to arch, and you have the oval drawn in the top as a guide to not cut into.
Here's pictures of my cello plates after the first rough arching, pictures of the top shows the scrub plane and the arching gouge used in the process.
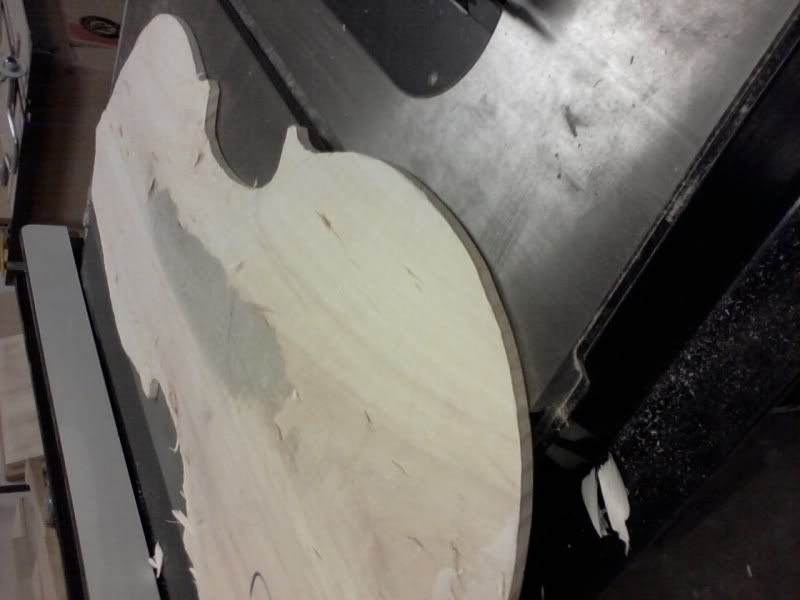
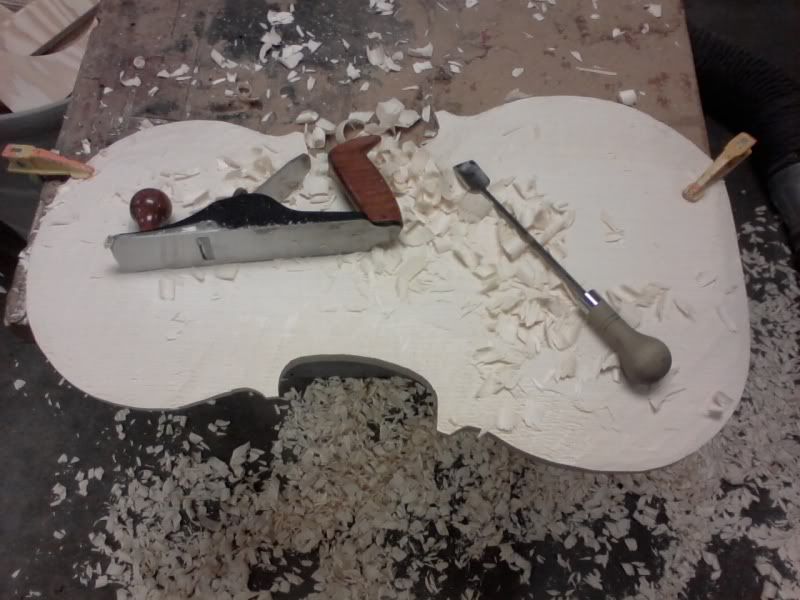
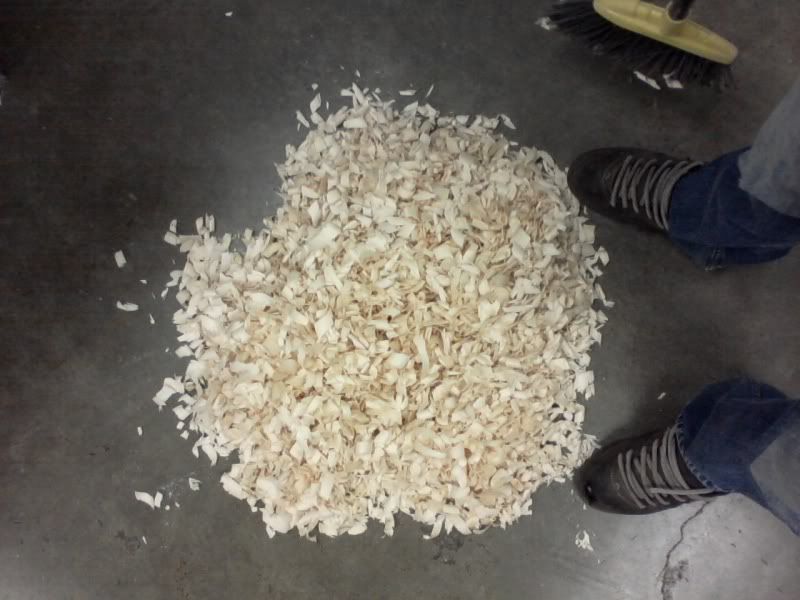
Here's a picture of how much wood was shaved off of the plates for the cello. (Notice the pile of shavings in comparison to my size 14 shoes, there's a few wasted guitar tops in there! Haha)
So now each plate is rough arched to the lines drawn for the thickness around the edges, and the next step is to route the purfling ledge into each plate for the final thickness. Unfortunately the picture of the routing setup was one of the ones I lost, so I don't have a visual for that.
For the routing heights on the cello, the upper and lower bouts were 5.3, the c bouts were 5.5mm, and the corners and button were 5.7mm. When routing the edge heights in, you have to be careful of any spots in the plates that do not stay flat on the table. At least for the routing setup I used, if the plate is curled up at all, when you pass it through it will cut the edge too low, and nailing these measurements will be crucial in the overall smooth look of the instrument.
So here's pictures of my cello plates immediately after routing:
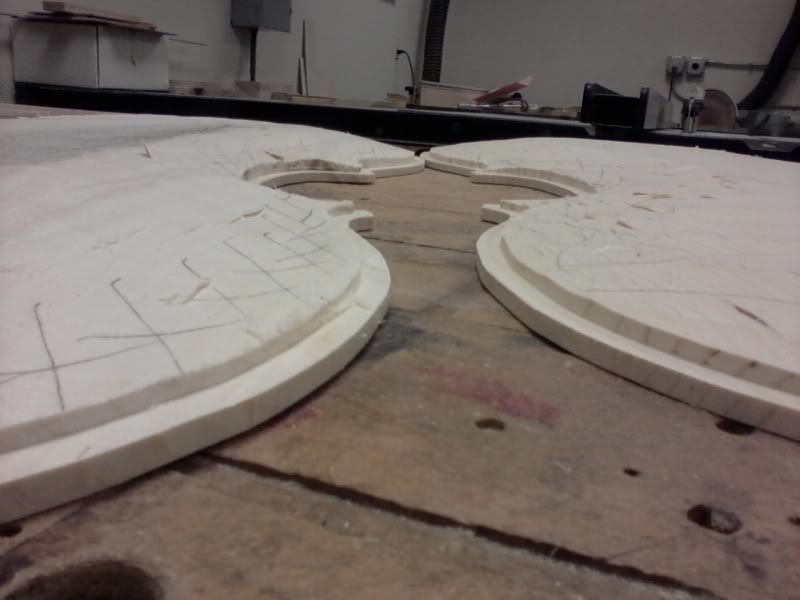
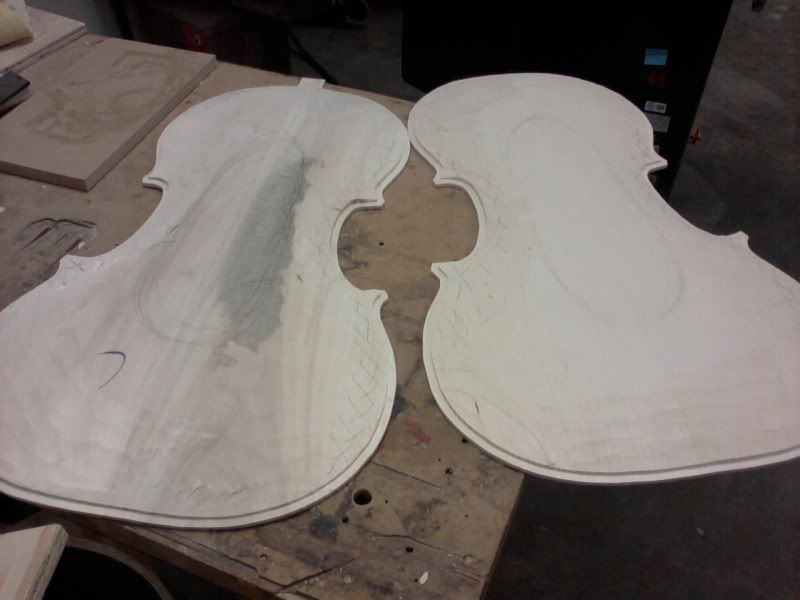
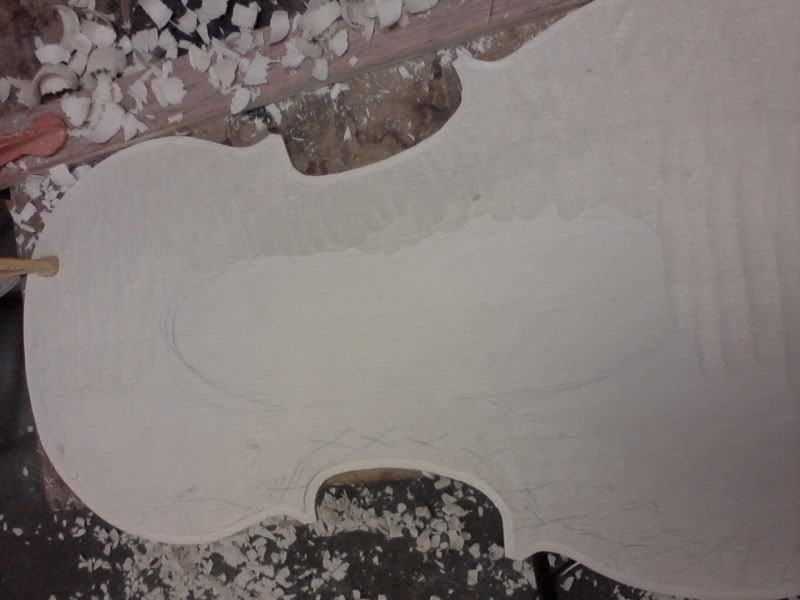
Next step now is the second arching. The lines you're shooting for now is to eliminate the step from the first arching to the edges you just routed. Now the scrub plane can not be used because it will damage the edges that need to be kept undamaged. So with the arching gouge, the step from the routing needs to be cut out and the oval line in the top can be pushed mildly. NOT TOO MUCH. Once the second rough arching is done, the plates will need to rest on that flat oval surface in the top to sand the edges to the pencil lines.
Seeing as how the second arch is much like the first, just with different lines to go by, not alot to say for it, so here's a picture of second arch in progress.
Once the second arching is done on both plates, the edges now need to be sanded close to to the lines like I had mentioned before. Get the line close, be be sure to not go to far as you'll be perfecting the margins with the plates glued to the ribs.
Now, with 2 spots on the neck and tail block, and 1 spot of glue on each corner block, and 1 spot on each middle of each bout of hide glue, you need to spot glue the plates on. Since, if you don't have a break away form/mold there will be linings on the back's side of the ribs, you'd want to spot glue the top first so that there is a larger clamping surface against the linings. And then spot glue the back as well. Do you're absolute best to get the scribe line lined up perfect, because that's what it's there for. This is a step that's very important to dry clamp.
Here's pictures of my cello with the plates spot glued on.
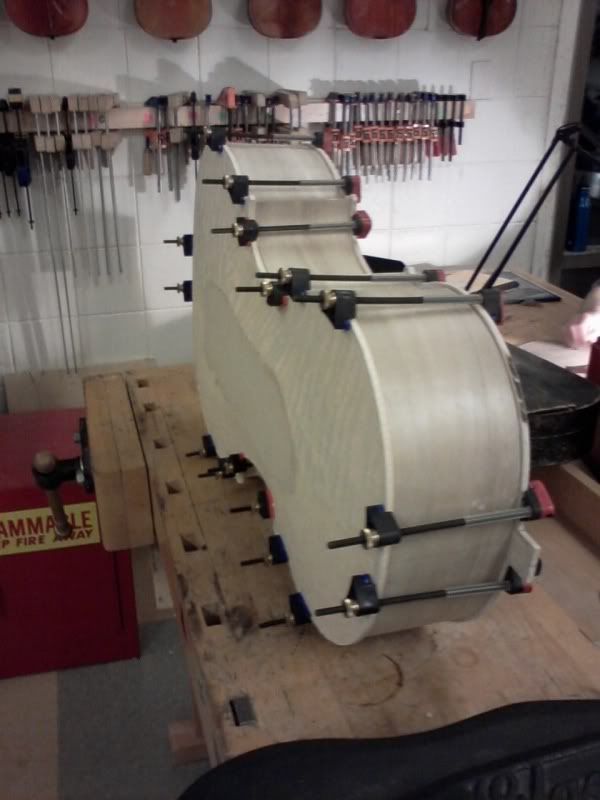
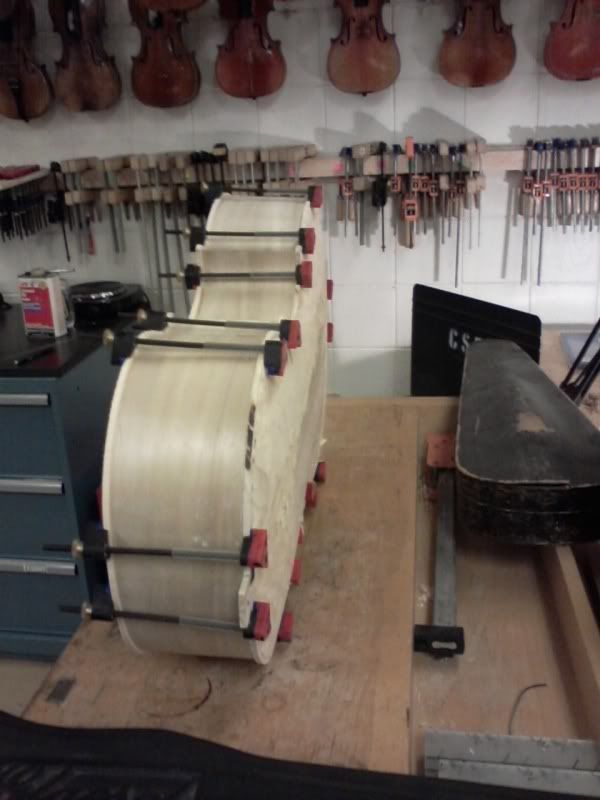
Now with the plates spot glued, you need to find the location of you're purfling channels and drill position holes on the top and back so that you can find the plates to exactly where they are. Since the plates are glued in place, the corners and margins are going to be perfected in that position, meaning finding positioning holes now will be crucial in everything staying even. The plates will be removed again.
So using a block plane, file, sand paper, and alot of patience and measuring, get you're margins to a consistent measurement all the way around. My violin is 2.7mm and my cello is 3.5mm.
The corners are a bit trickier of a process. You need to use a chisel to take the end of the corners and take them down to the pencil line that was drawn in the process of drawing the corners in before cutting the plates out. And with checking the measurement off the top of the ribs to check the overhang, keep adjusting the corners with the chisel until you're very close, and then use a file to keep both plates corners parallel.
I did forget to mention. WHEN SANDING TO THE PENCIL LINE LEAVE SOME BEEF ON THE CORNER'S CURVES FOR SHAPING THE CORNERS WITH A KNIFE.
As the ends of the corners are done, you need to use a very sharp knife to cut the corners down to the pencil lines, BUT BE VERY CAREFUL NOT TO CHIP OUT THE CORNERS WITH THE KNIFES. Cut down into the corners in instances where the knife would cut out the wood grain, especially on the soft spruce.
Now, the entire bodies margins are done, including the corners. Just make sure the positioning holes are drilled, and use a very thin spatula/ mud knife or what ever to pop the spot glue spots loose and take the plates back off.
It's time to route the purfling, I'm not going to include specifics for that, there are different ways to do it, and research on jigs to find the best way for you is best.
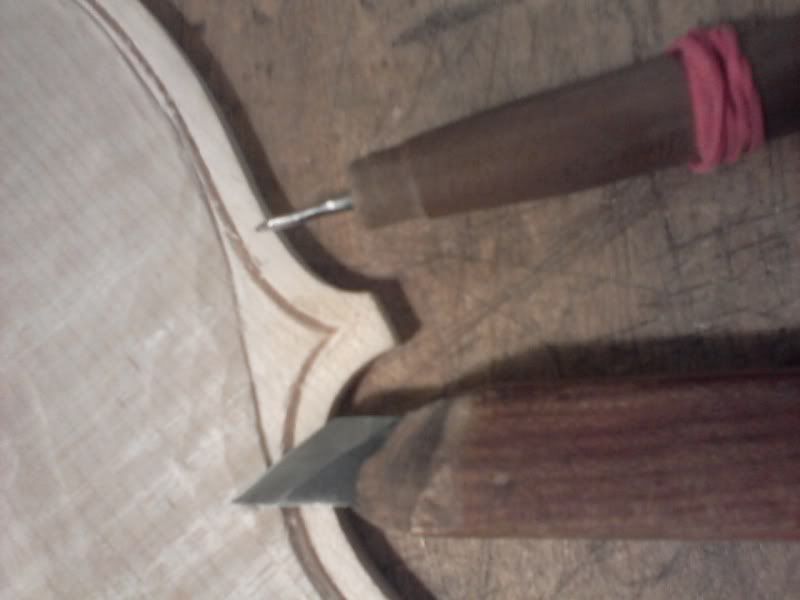
What I will do though is include the picture with mild details of doing the corners. When doing the purfling, you can't route all the way into the corners, the bit cuts in a circle so the corners need to be done by hand. And since it's hard to keep the jig cutting an even distance in on the tight curves, you need to stop right before the corners. With a very sharp knife and a tiny mini chisel, you need to hand cut the channel in the corners. Scoring the lines and then chiseling the wood out, and rescoring the wood to chisel it again until you get to 2mm deep channel is the proper way to go about it.
Here's pictures of the corners scribed in, and then picture of the hand cut channel, and a picture of the 2 tools used.
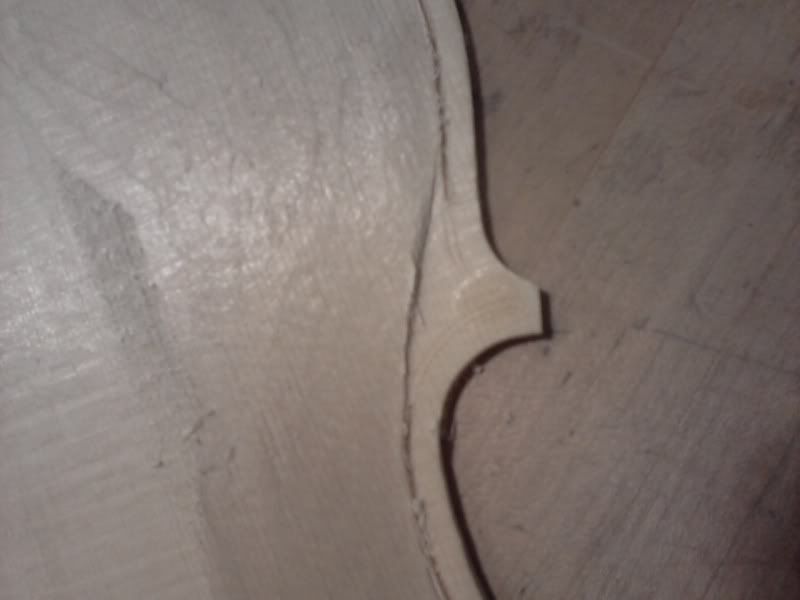
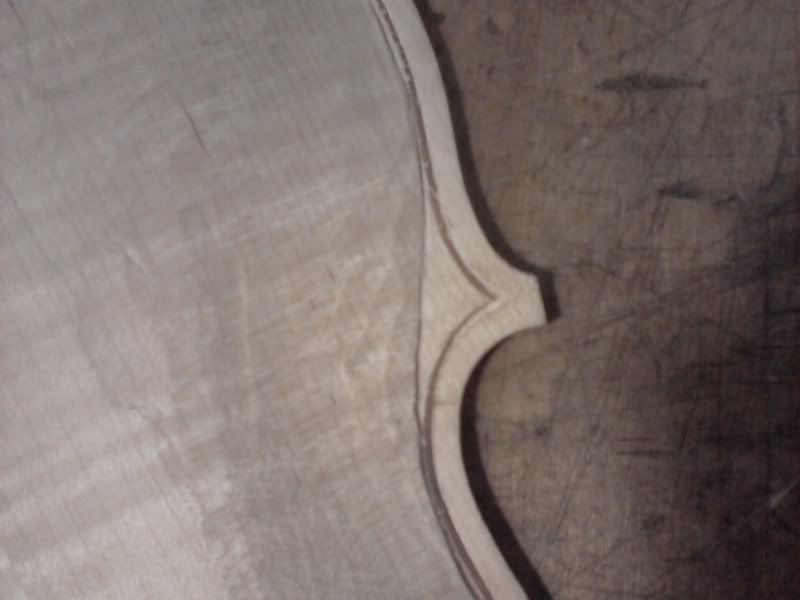
Alright, well that's all for now, keep checking in for more progress!